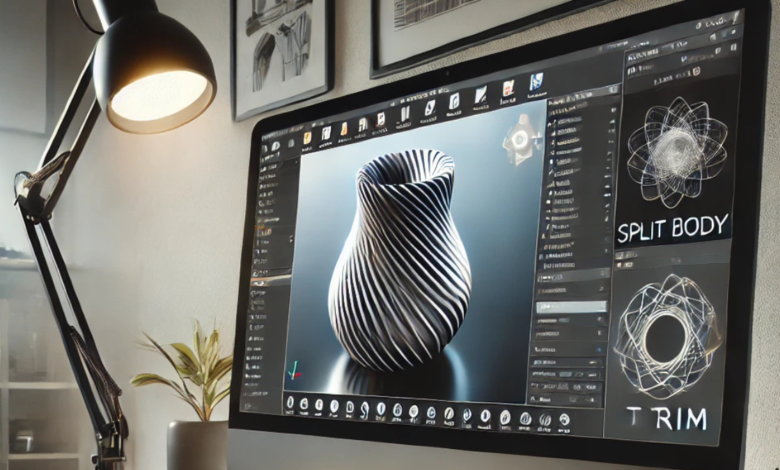
Mastering the Art of Removing a Section from an Object in Fusion 360

Introduction: Why Precision Matters in Fusion 360
Fusion 360 is a robust CAD (Computer-Aided Design) tool that combines design, engineering, and manufacturing into one seamless platform. Whether you are a professional designer, an engineer, or a hobbyist, one common challenge you might encounter is modifying objects by removing specific sections. While this might sound straightforward, ensuring precision and maintaining the integrity of your model can be tricky.
In this article, we’ll walk through the process of removing a section from an object in Fusion 360 with clarity and detail. By the end of this guide, you’ll have a strong understanding of the tools, techniques, and best practices to handle this task efficiently.
Understanding the Tools: Key Features for Modifications
Fusion 360 offers a variety of tools designed specifically for editing and modifying objects. Understanding these tools is the foundation for successfully removing sections from an object.
The Trim Tool
The Trim tool is often your go-to for quick edits. It allows you to cut away unnecessary portions of sketches or models, helping you clean up the workspace before proceeding with detailed operations. It works especially well when dealing with complex sketches that require fine adjustments.
The Split Body Tool
When dealing with solid objects, the Split Body tool becomes invaluable. This tool lets you separate an object into distinct sections using a sketch, plane, or another body as the cutting guide. It’s precise and ensures that your modifications do not disrupt other parts of your design.
The Delete Face Tool
For surface models, the Delete Face tool is incredibly useful. It allows you to remove selected faces while leaving the rest of the geometry intact. This tool is essential for making targeted adjustments without having to redo the entire model.
Each of these tools plays a critical role, depending on the complexity of your project. Understanding when and how to use them is the first step toward mastering object modifications in Fusion 360.
Preparation: Setting the Stage for Accurate Edits
Before diving into removing a section, preparation is key. Properly setting up your workspace ensures that your modifications are accurate and efficient.
Step 1: Analyze the Object
Start by analyzing the object you want to modify. Understand its geometry, dimensions, and how the section you wish to remove interacts with the rest of the model. This step helps you anticipate any potential challenges.
Step 2: Create Supporting Geometry
In many cases, you’ll need to create supporting geometry to guide your edits. For instance, if you plan to use the Split Body tool, sketch a cutting line or plane that accurately defines the section to be removed.
Step 3: Activate the Correct Environment
Fusion 360 offers different workspaces, such as Design, Manufacture, and Simulation. Ensure you are in the Design workspace, as this is where you’ll find most of the tools required for modifications.
By taking the time to prepare, you set yourself up for a smoother editing process, reducing the risk of errors and unnecessary iterations.
Step-by-Step Guide: Removing a Section from an Object
Let’s dive into the detailed process of removing a section from an object in Fusion 360. This guide will cover multiple methods to accommodate different scenarios.
Method 1: Using the Split Body Tool
- Define the Cutting Plane:
- Start by creating a sketch on the plane that intersects the section you want to remove.
- Use lines, rectangles, or curves to define the boundary.
- Activate the Split Body Tool:
- Go to the “Modify” menu and select “Split Body.”
- Select the object as the body to split and the sketch or plane as the splitting tool.
- Remove the Section:
- Once the split is complete, select the unwanted section and delete it. The remaining geometry will stay intact.
Method 2: Using the Trim Tool
- Open the Sketch Environment:
- Double-click on the sketch that defines your object or create a new one.
- Activate the Trim Tool:
- Use the Trim tool to cut away unwanted portions of the sketch. This tool works best for planar sections.
- Finish the Sketch:
- Exit the sketch environment and proceed with creating or editing the model based on the trimmed sketch.
Method 3: Using the Delete Face Tool
- Select the Face to Delete:
- In the solid model environment, select the face(s) of the object you want to remove.
- Activate Delete Face:
- Right-click and choose “Delete Face” or find the tool in the Modify menu.
- Review the Result:
- Fusion 360 will automatically patch the remaining geometry. Inspect the model to ensure the changes are as expected.
Each of these methods has its unique use cases, and selecting the right one depends on your project’s requirements.
Best Practices: Ensuring a Smooth Workflow
To ensure success when removing sections from objects in Fusion 360, consider the following best practices:
Practice Incremental Saves
Always save your work incrementally. Removing sections can sometimes lead to unintended consequences. By saving your progress, you can easily revert to an earlier state if needed.
Leverage Fusion 360’s History Timeline
The timeline at the bottom of Fusion 360 provides a record of every action you take. Use it to revisit or adjust previous steps if something doesn’t turn out as planned.
Use Construction Geometry
Construction geometry doesn’t affect the final model but serves as a guide for accurate edits. Use it liberally to define cutting planes or alignments.
Test Modifications in a Copy
Before making major changes, duplicate your design. This way, you can test the modifications without risking your original model.
Troubleshooting: Common Issues and Solutions
Even with the best preparation, you might encounter challenges. Here’s how to address some common issues:
Issue 1: Geometry Fails to Split
Solution: Ensure that your cutting plane or sketch fully intersects the object. If not, adjust the sketch or use a different plane.
Issue 2: Unintended Geometry Changes
Solution: Use Fusion 360’s timeline to roll back to a previous step. Check your constraints and dimensions to identify the root cause.
Issue 3: Model Integrity Issues
Solution: After removing a section, inspect the model for gaps or misalignments. Use the “Inspect” tool to identify and fix these issues.
Advanced Techniques: Taking It to the Next Level
For experienced users, combining multiple tools can lead to more complex and refined results. For example, you can use the Split Body tool in conjunction with parametric constraints to create dynamic models that adjust automatically when dimensions change.
Another advanced approach is leveraging Fusion 360’s scripting capabilities. With a basic understanding of Python, you can create scripts to automate repetitive tasks, including removing sections.
Conclusion: Practice Makes Perfect
Removing a section from an object in Fusion 360 might seem daunting at first, but with practice, it becomes second nature. By mastering tools like Split Body, Trim, and Delete Face, and following best practices, you’ll be able to tackle any modification challenge with confidence.
Whether you’re designing prototypes, refining parts for manufacturing, or simply experimenting, Fusion 360 offers all the tools you need to bring your ideas to life. So fire up your workspace, practice these techniques, and elevate your design game!


